
Deploying Traefik as a Reverse Proxy
I foray into the world of Cloud Native reverse proxies...
I foray into the world of Cloud Native reverse proxies...

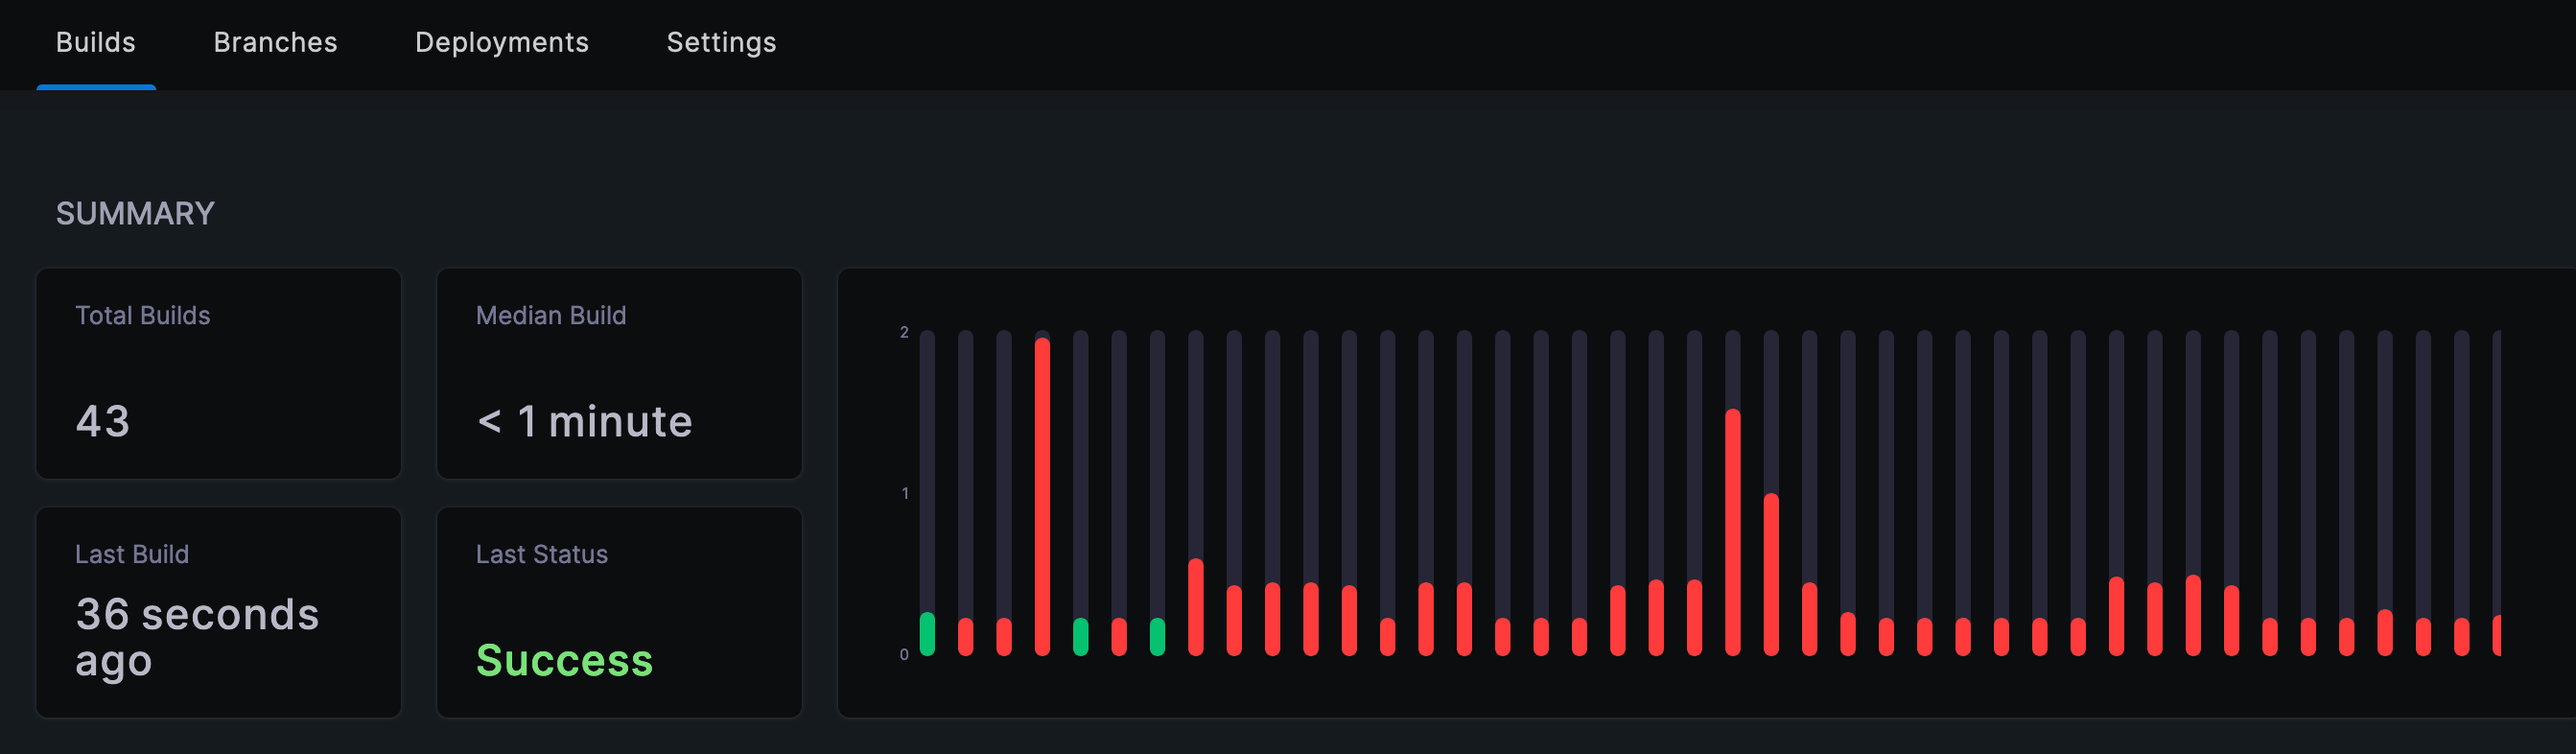
I embark on the next stage of my blog journey, to automate the build and deployment of a Hugo generated site using Gitea and Drone.io - Part 2
I decide to move my website to static HTML using Hugo - Part 1.
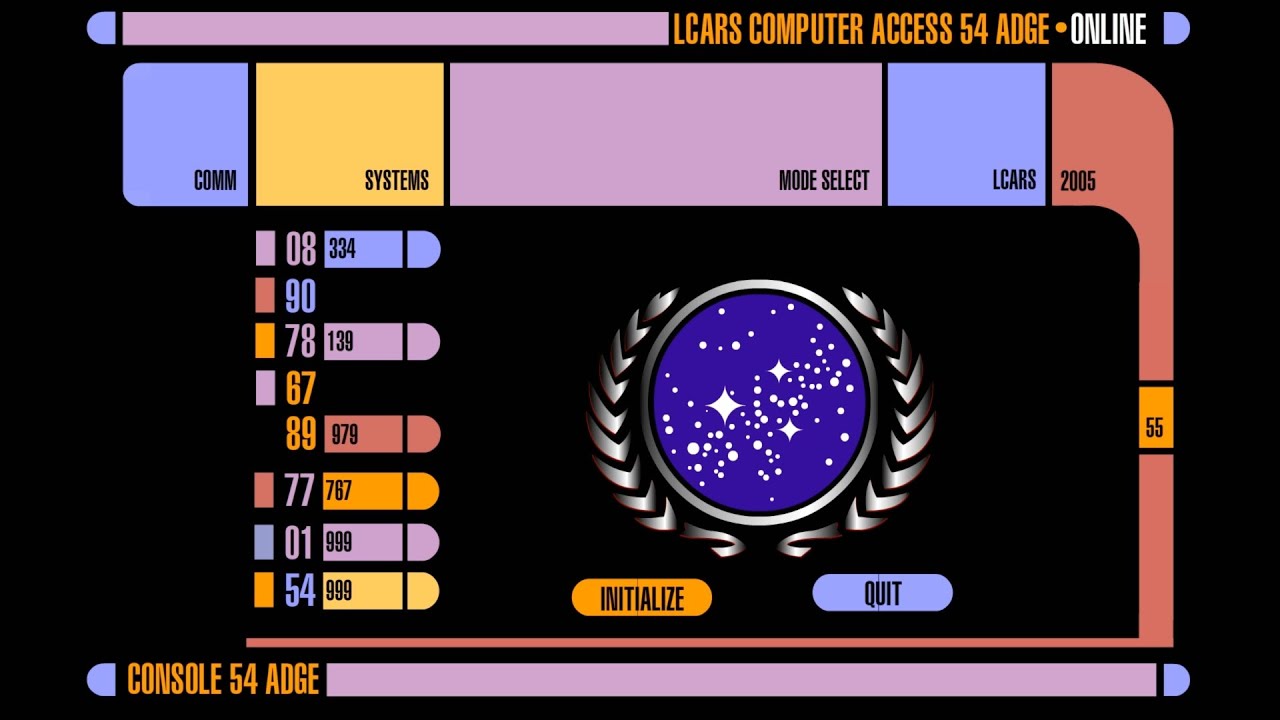
A guide on installing an LCARS based screensaver on macOS

I decide to explore the world of DNS and host my own DNS service, with encrpytion and ad-blocking by default.

Desc Text.

I recently had to upgrade an ASR9001 but found myself resolving a Cisco Field notice which prevented the installation of updates...
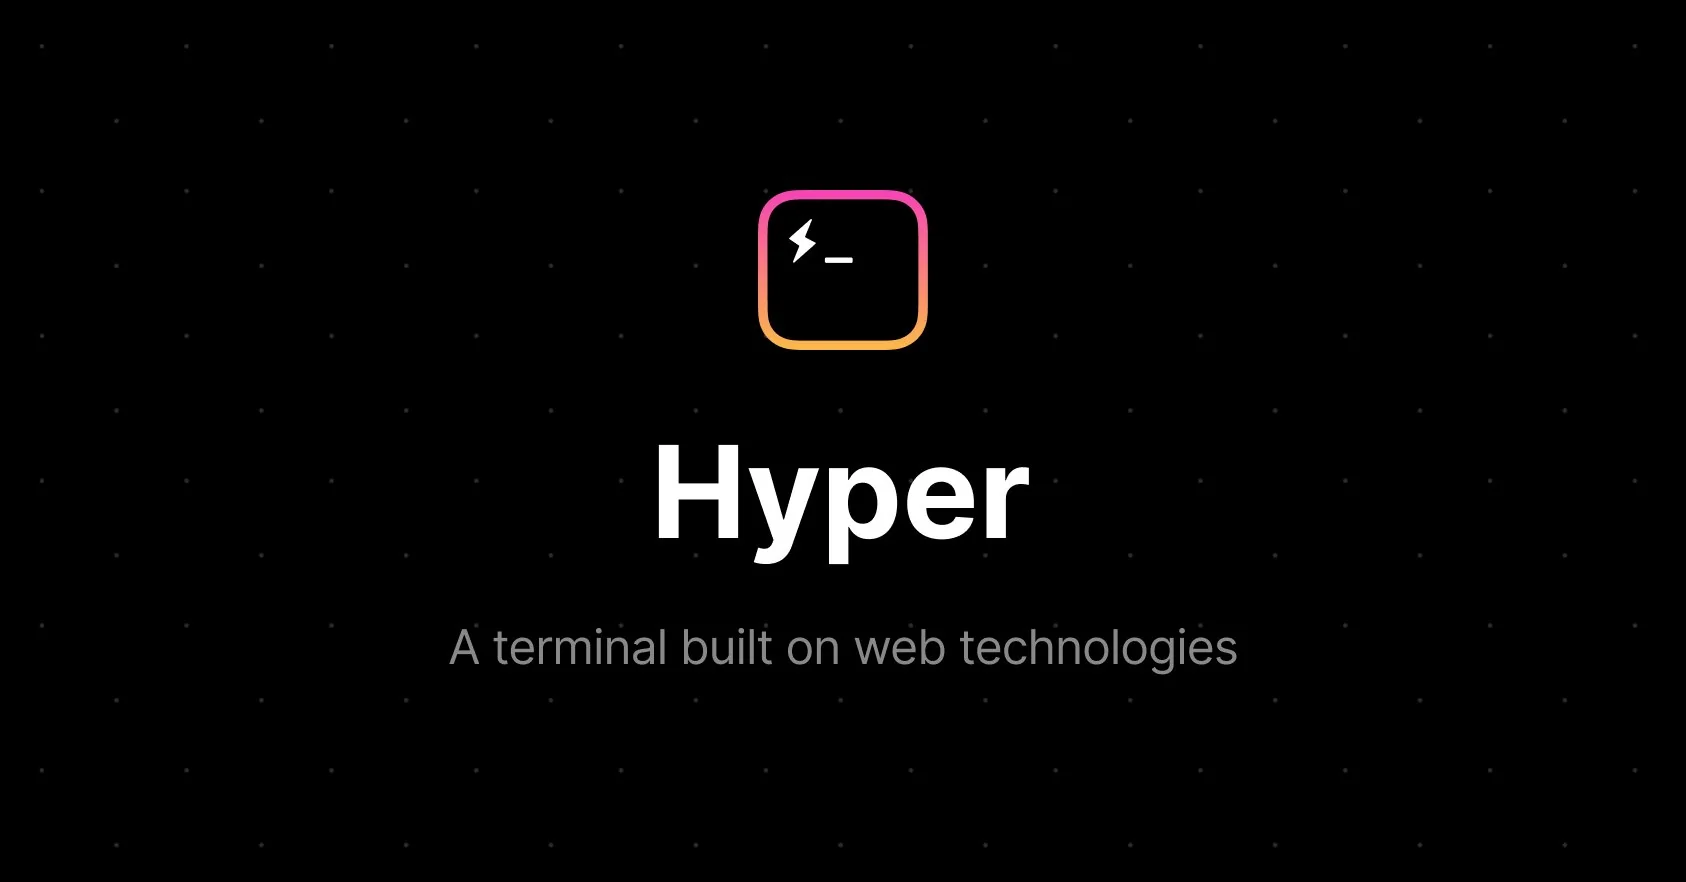
Building a local test environment with WSL, using Hyper terminal and Vagrant